Migrating Git Repos with LFS Artifacts
How to migrate Git LFS artifacts from one repository to another
Overview
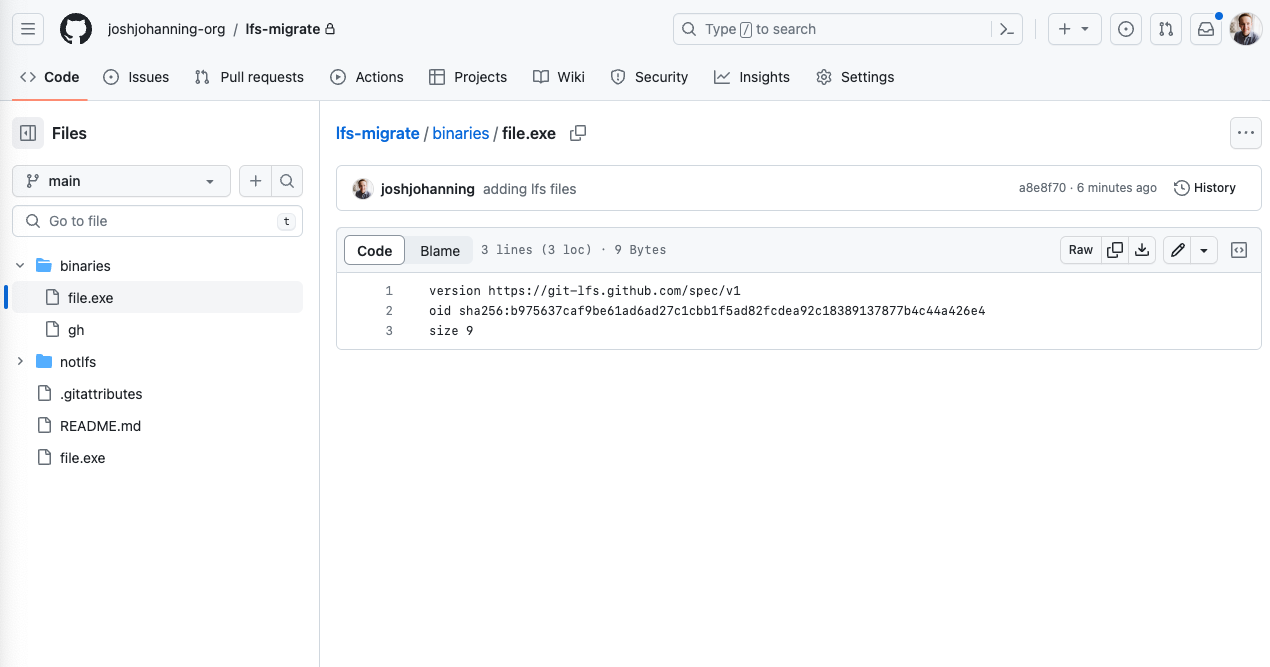
Git Large File Storage (LFS) replaces large files such as audio samples, videos, datasets, and graphics with text pointers inside Git, while storing the file contents on a remote server like GitHub. Git LFS works seamlessly, you hardly know it’s there when interacting with Git. However, there are special instructions that you need to follow if you are migrating Git repositories that contain LFS artifacts.
See my other Git LFS posts:
Prerequisites
- Install
git lfs- On macOS, you can install via
brew install git-lfs - On Windows,
git lfsshould be installed with Git for Windows, but you can install an updated version viachoco install git-lfs
- On macOS, you can install via
- Once installed, you need to run
git lfs installto configure Git hooks to use LFS.
Migrating a Repository with LFS Artifacts
If you are migrating a repository that contains LFS artifacts, you need to make sure that you migrate the LFS artifacts as well. If you don’t, you will end up with a repository that contains text pointers to files that don’t exist. This is because the LFS artifacts are stored in a separate location from the repository itself.
Instructions:
1
2
3
4
5
git clone --mirror <source-url> temp
cd temp
git push --mirror <target-url>
git lfs fetch --all
git lfs push <target-url> --all
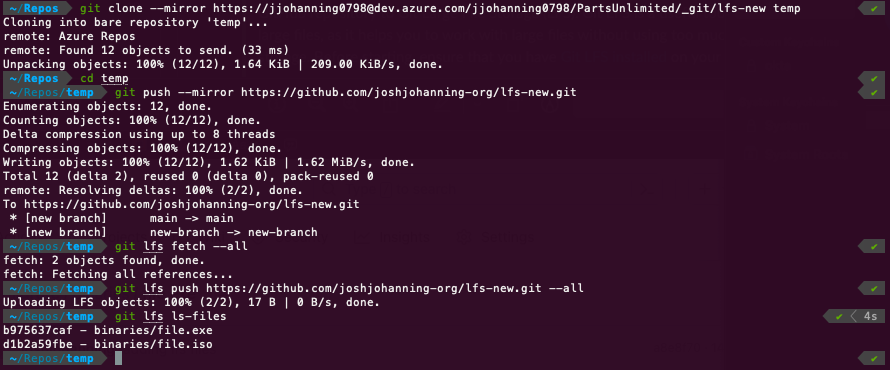
For Git repos with LFS, the two git lfs commands are key. This git lfs fetch --all command will download all the LFS artifacts from the source repository and store them in the target repository. The git lfs push <target-url> --all command will push all of the LFS artifacts to the target repository. After the push, the text pointers will be updated - including the same commit hash!
Here is an example of migrating a repository that contains LFS artifacts:  Running the migration commands to migrate a Git repository including Git LFS artifacts
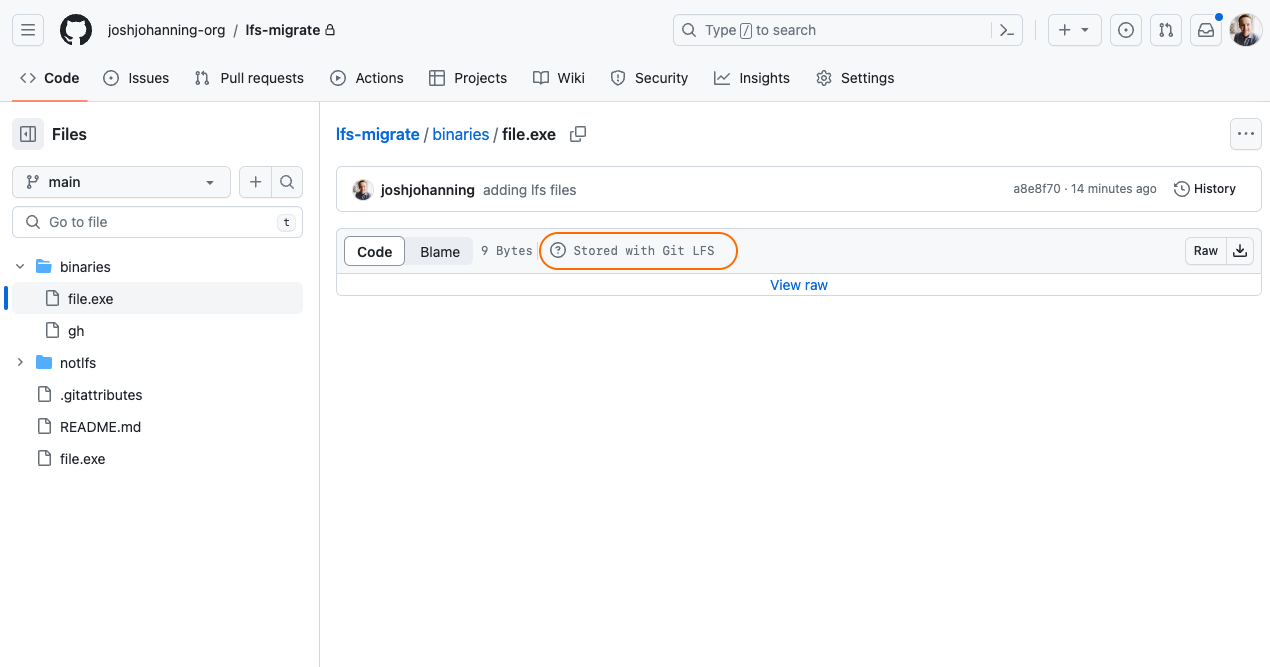
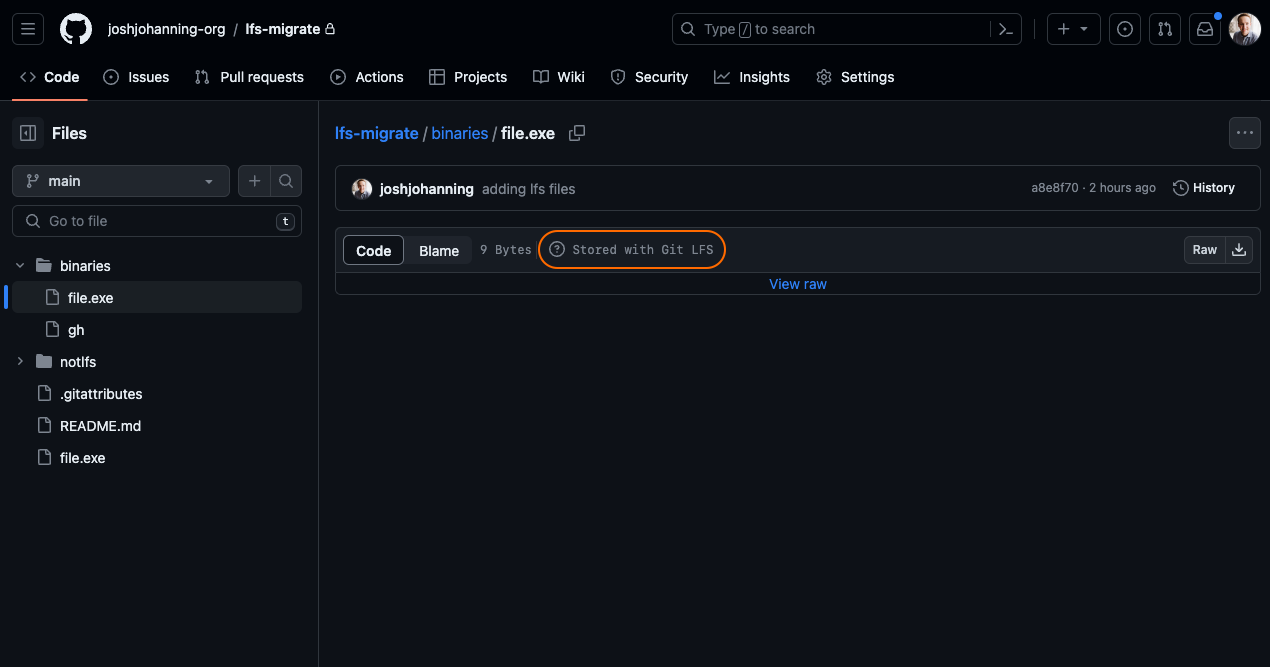
The repository has been migrated, including the LFS artifacts: 
 File stored in Git LFS file in GitHub
Alternative Method
The method above worked well for me in my tests, even in tests with 1,000 LFS artifacts each 1mb in size. However, I have seen issues running these commands for some customers with larger repositories. Sometimes the git lfs fetch or git lfs push will hang or not appear to migrate all of the LFS artifacts. If you run into issues, you can run this script to more thoroughly (but slower) way to migrate the LFS artifacts. It works by looping through each LFS object and pushing it individually pushing it.
The alternative script to migrate the LFS artifacts to another repository:
1
2
3
4
5
git clone --mirror <source-url> temp
cd temp
for object_id in $(git lfs ls-files --all --long | awk '{print $1}'); do
    git lfs push --object-id remote "$object_id"
done
Source for the script.
Summary
Migrating Git repositories is simple. However, if the repository contains LFS artifacts, you need to make sure to run the git lfs fetch and git lfs push commands to migrate them along with the repository. If you don’t, your Git LFS files will be missing.
Now that your Git repo, including LFS artifacts, is migrated, you can delete the temp folder, update remotes on your local repo, and continue working as normal! 🚀
